

Laminate on Concrete Slabs in Florida: The Moisture Barrier Mistakes We Fix Every Month
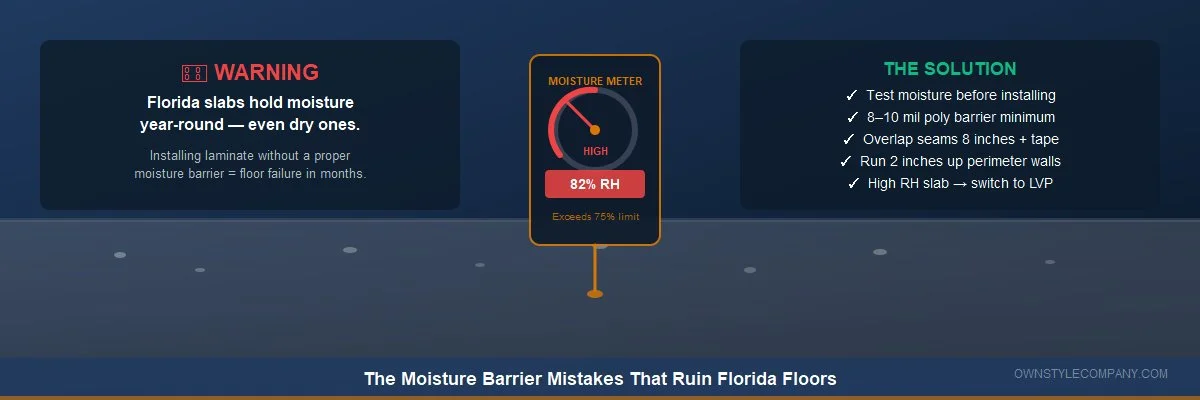
Installing laminate flooring on a concrete slab in Florida requires a proper moisture barrier — no exceptions. Concrete slabs in Hillsborough County and across the Tampa Bay area retain ground moisture year-round, driven by Florida's high water table, sandy soil, and the constant humidity gradient between warm outdoor air and the cooler conditioned interior. Without the right moisture barrier, laminate flooring swells, buckles, and develops mold within months.
Why Is Moisture Such a Big Issue with Slabs in Florida?
● High water table: in much of Hillsborough County, the water table is within 10–15 feet of the surface. Ground moisture migrates upward through concrete by capillary action.
● No basement buffer: slab-on-grade construction puts concrete directly in contact with the ground. The slab is the ground floor of the moisture gradient.
● Humidity differential: with AC running and outdoor humidity at 80–90%+ in summer, moisture is drawn toward the cooler interior from multiple directions.
● Sandy soil: Florida's sandy soil has lower water retention, meaning water moves more freely to and from the slab.
What Are the Most Common Moisture Barrier Mistakes We See?
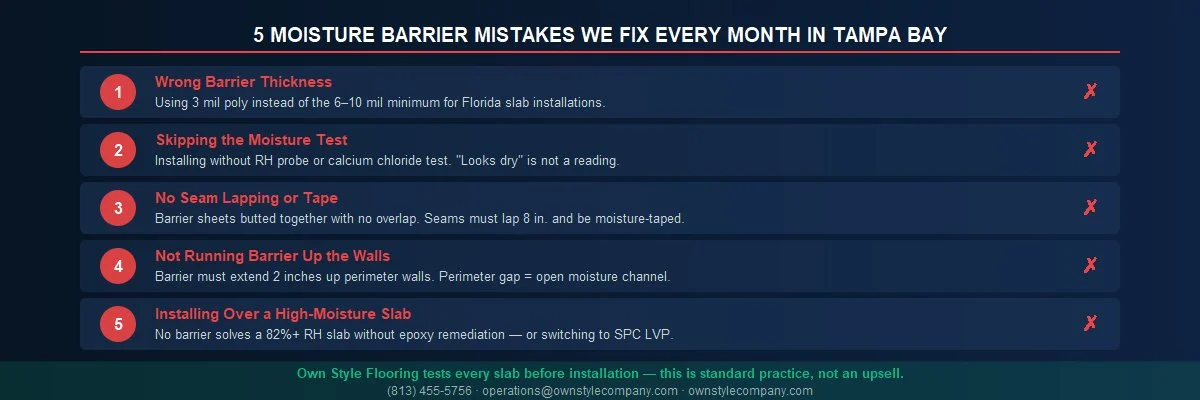
Mistake 1: Wrong barrier thickness
The minimum for Florida slab installations is 6 mil polyethylene. We regularly find 3 mil poly — a common hardware store product — that was installed by homeowners or inexperienced contractors. At 3 mil, the barrier punctures easily and is not rated for Florida vapor transmission levels.
Mistake 2: Skipping the moisture test
Many contractors skip the moisture test and assume the slab is dry enough. In Florida, this assumption is almost always wrong. We test every slab because a reading that looks borderline in December can spike in rainy season — after the floor is already installed.
Mistake 3: Improper seam lapping
Barrier sheets must overlap at least 8 inches and be secured with moisture barrier tape. We frequently find seams butted against each other with no overlap — leaving the seam as an open moisture channel.
Mistake 4: Not running the barrier up the walls
The barrier should extend 2 inches up the perimeter walls, creating a continuous tub. Moisture enters not just from below the slab but from the perimeter where the slab meets the stem wall.
Mistake 5: Installing over a wet slab without remediation
A slab with active moisture intrusion needs an epoxy or polyurethane sealer applied to the slab surface before any flooring system. A standard barrier alone cannot solve a slab with RH readings above 75%.
How Do You Test Concrete Moisture Before Installing Laminate?
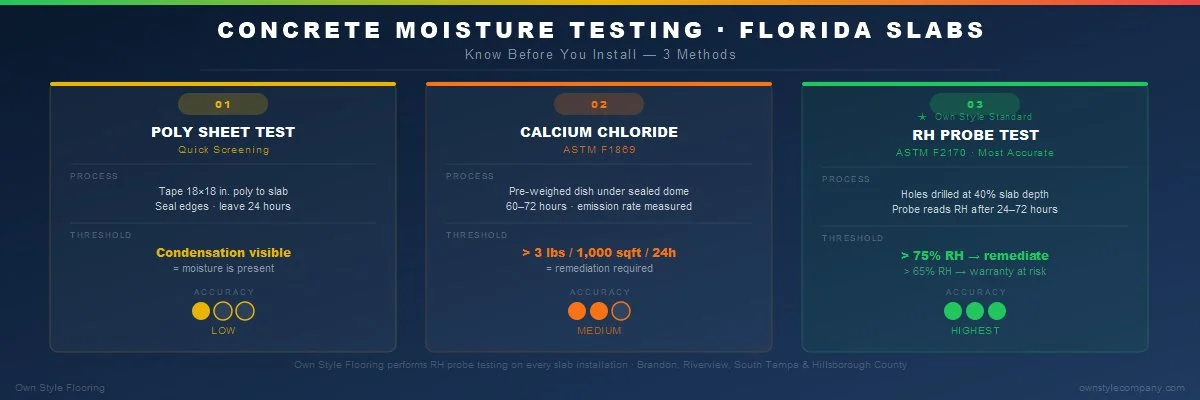
Poly sheet test (quick screening)
Tape an 18x18 inch sheet of poly to the slab, seal all edges, and leave it for 24 hours. Condensation on the underside indicates moisture. This test tells you if a problem exists — not its severity.
Calcium chloride test (ASTM F1869)
A pre-weighed dish of calcium chloride is sealed under a dome on the slab surface for 60–72 hours. The moisture emission rate is calculated in pounds per 1,000 sqft per 24 hours. Emissions above 3 lbs require remediation for most laminate products.
RH probe test (ASTM F2170)
Holes are drilled into the slab and humidity sensors are inserted at 40% depth. After equilibration (24–72 hours), relative humidity is read directly from within the slab. Readings above 65–75% RH require remediation or a product switch to LVP. Yasmany performs RH probe testing as part of Flooring at Tampa Bay's pre-installation protocol.
What Type of Moisture Barrier Is Right for Florida Slabs?
● Minimum: 6 mil polyethylene, overlapped 8 inches at seams, taped, extended 2 inches up perimeter walls.
● Recommended for Florida: 8–10 mil poly or a combination underlayment integrating foam and vapor barrier — reduces seam count and risk.
● High-moisture situations: epoxy moisture mitigation coating applied directly to slab, followed by standard barrier and underlayment.
● Not acceptable: 3 mil poly, standard bubble wrap underlayment without moisture barrier designation, foam pads alone.
Can You Install Laminate If the Slab Has High Moisture Readings?
● Remediate the slab: apply a two-part epoxy moisture mitigation product. This adds $1–2 per square foot and 24–48 hours of cure time. Test again before installing.
● Switch to LVP: SPC-core LVP is 100% waterproof and does not have the same moisture barrier restrictions. The price difference between mid-range laminate and mid-range LVP is typically $1–2 per square foot — often less than the cost of full remediation.
How Much Does Proper Moisture Barrier Add to Installation Cost?
● Standard 6 mil poly + underlayment: $0.50–0.75 per square foot additional.
● Premium combination underlayment: $0.75–1.25 per square foot additional.
● Epoxy moisture mitigation: $1.00–2.00 per square foot additional plus cure time.
Skipping the moisture barrier to save $0.75 per square foot on 1,500 sqft saves $1,125. The cost to demo and replace failed laminate is $4,000–8,000. Flooring at Tampa Bay performs moisture testing before every slab installation as a standard — not an upsell. Contact operations@ownstylecompany.com, call (813) 455-5756, or visit ownstylecompany.com.
FREQUENTLY ASKED QUESTIONS
-
Yes, but only with a proper moisture barrier. Florida concrete slabs retain ground moisture year-round due to the high water table and sandy soil. Without a moisture barrier rated for Florida conditions, laminate on concrete will swell, buckle, and develop mold within 6 to 18 months.
-
Three tests are used: the poly sheet test (tape an 18x18 inch sheet to the slab for 24 hours — condensation indicates moisture), the calcium chloride test (ASTM F1869, measures emission rate over 60-72 hours), and the RH probe test (ASTM F2170, most accurate — drills into the slab to measure relative humidity at depth). Most manufacturer warranties require the RH probe method.
-
A minimum of 6 mil polyethylene sheeting, overlapped at seams by at least 8 inches, taped with moisture barrier tape, and extended 2 inches up the perimeter walls. In Florida, 8–10 mil is recommended. Some combination underlayment products integrate foam and vapor barrier in one product.
-
Using the RH probe method, readings above 75% relative humidity require remediation. Most laminate manufacturers require RH below 65% for warranty compliance. Using the calcium chloride method, emissions above 3 lbs per 1,000 sqft per 24 hours typically require remediation.
-
Ground moisture migrates into the laminate core through the slab. The HDF core swells, causing boards to buckle and separate. Mold develops between the slab and the flooring and can spread to adjacent walls. In Tampa Bay's humid climate, this failure can occur within 3 to 6 months of installation.
-
Yes. Own Style Flooring performs moisture testing before every slab installation and uses proper moisture barriers as standard practice. They serve Brandon, Riverview, Seffner, South Tampa, and surrounding Hillsborough County. Contact operations@ownstylecompany.com or (813) 455-5756, or visit ownstylecompany.com.